

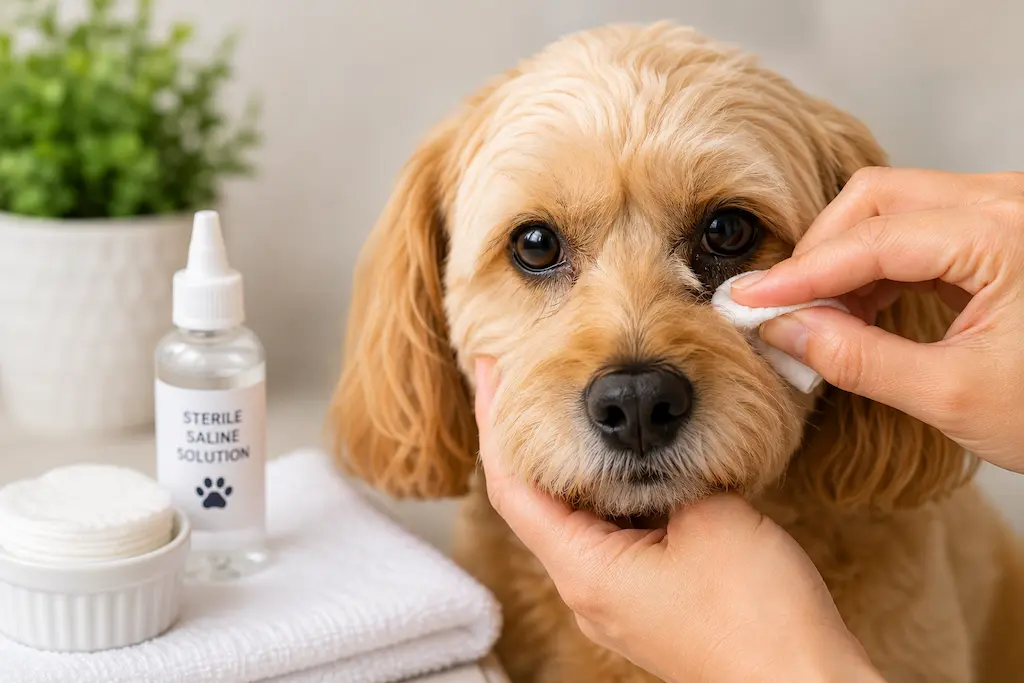


If you’re a pet parent, you probably already know that cat grooming goes far beyond just brushing fur and trimming nails. One often overlooked but crucial part of your feline friend’s hygiene routine is ear cleaning. Dirty ears can lead to discomfort, itching, and even infections for your cat. While there are many products available on the market, one natural, safe, and cost-effective remedy stands out olive oil.
In this guide, we’ll walk you through everything you need to know about cleaning your cat’s ears with olive oil from why it’s effective to a step-by-step method, safety precautions, and when to seek professional help.
Why Use Olive Oil for Cat Ear Cleaning?
Olive oil is a gentle, natural substance that has been used for centuries for its healing and moisturizing properties. It’s non-toxic to cats when used externally and is particularly effective at:
- Loosening dirt and wax buildup
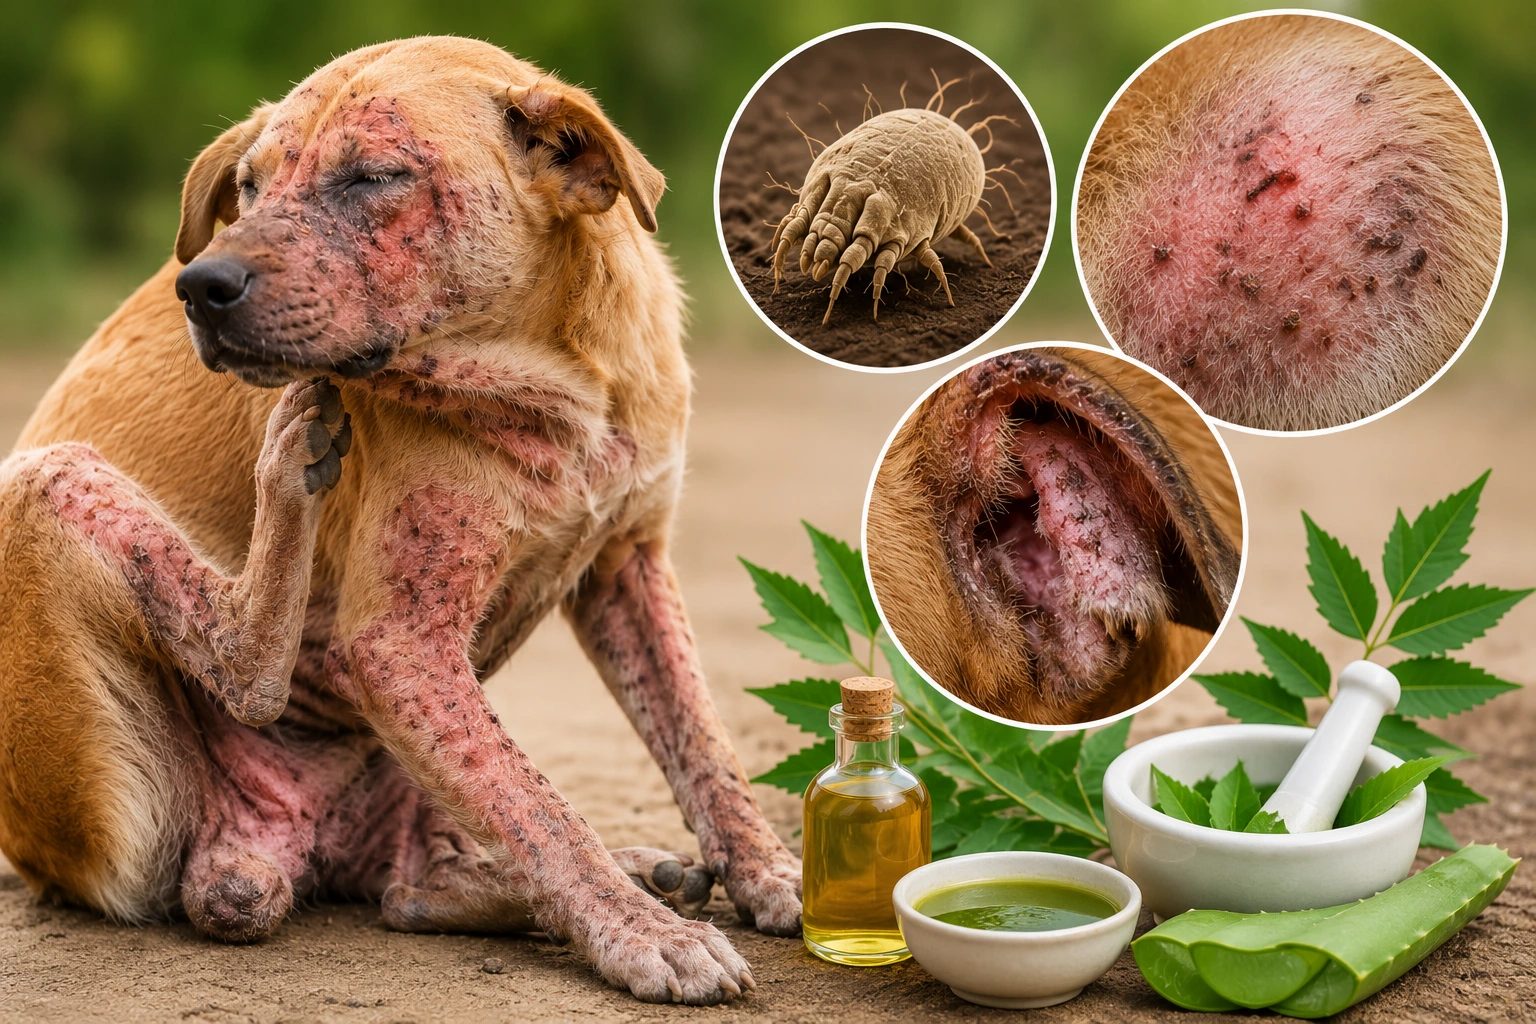
- Smothering ear mites
- Soothing irritation in the ear canal
Because it’s readily available in most households, it’s a convenient solution for pet parents looking to maintain their cat’s ear hygiene without harsh chemicals.
When Should You Clean Your Cat’s Ears?
Not every cat needs frequent ear cleanings. In fact, many cats are naturally good at keeping their ears clean. However, you should inspect your cat’s ears weekly for signs that they might need cleaning. Look out for:
- Excessive earwax
- Dark or brown discharge
- Unpleasant odor
- Scratching at the ears or shaking the head
If you notice any of the above symptoms, it may be time for a gentle olive oil cleaning or a trip to your vet if the symptoms are severe.
What You’ll Need
Before you start, gather the following supplies:
- Extra virgin olive oil
- Dropper or small syringe
- Cotton balls or gauze pads
- Towel (to wrap your cat if needed)
- Treats (for encouragement and reward)
Step-by-Step Guide to Cleaning Your Cat’s Ears with Olive Oil
Step 1: Warm the Olive Oil
Pour a small amount of olive oil into a clean bowl and let it sit at room temperature or warm it slightly (make sure it’s lukewarm, not hot!).
Step 2: Secure Your Cat
Cats can be squirmy, especially during grooming. Gently wrap your cat in a towel to prevent scratching and keep them calm.
Step 3: Apply the Olive Oil
Using a dropper, place 2-3 drops of warm olive oil into your cat’s ear canal. Massage the base of the ear gently for about 20-30 seconds. This helps the oil move deeper and loosen debris.
Step 4: Let It Sit
Allow the oil to sit in your cat’s ear for about 5–10 minutes. This gives it time to break down wax and dirt.
Step 5: Wipe the Ear
Use a cotton ball or gauze pad to gently wipe away the loosened wax and debris from the outer part of the ear. Do not insert anything deep into the ear canal, like Q-tips.
Step 6: Repeat If Necessary
If there’s still buildup, you can repeat the process in a few days. Avoid over-cleaning, as it can cause irritation.
Safety Tips
- Always use pure, unflavored olive oil.
- Avoid using essential oils or additives, as they can be harmful to cats.
- If your cat has an ear infection or open sores, consult a veterinarian before attempting a home remedy.
- Never force the process gentle handling is key.
When to Seek Professional Help
If your cat’s ears have a foul smell, if the discharge is excessive or pus-like, or if your cat is in visible discomfort, home remedies may not be enough. Whether noticed at home or during a visit to the pet salon, these could be signs of:
- Ear infections
- Ear mites
- Allergies or underlying health issues
In such cases, professional evaluation and treatment are necessary.
Frequently Asked Questions
Can I use any type of olive oil for my cat’s ears?
Stick to pure, unflavored extra virgin olive oil. Infused or flavored oils, as well as essential oils, can contain compounds that are irritating or even toxic to cats.
How often should I clean my cat’s ears with olive oil?
Most cats don’t need frequent cleaning. A weekly check is enough to catch buildup early, and cleaning once every few weeks (or only when wax appears) is usually sufficient. Over-cleaning can irritate the ear canal.
Is it normal for my cat to shake its head after an olive oil ear cleaning?
Some head-shaking right after cleaning is normal, as your cat is trying to dislodge any leftover oil or loosened debris. If shaking persists for more than a day or is paired with scratching, it may be worth having the ears checked.
My cat won’t sit still for ear cleaning. What should I do?
Wrapping your cat snugly in a towel, working in a calm, quiet space, and having treats on hand can help. If your cat remains too anxious or resistant, a professional groomer can handle it more safely and with less stress on your pet.
Can olive oil treat an existing ear infection?
No. Olive oil is a preventive and mild cleaning remedy, not a treatment for infections. If you notice a foul smell, dark discharge, swelling, or your cat seems to be in pain, professional evaluation or a vet visit is necessary rather than a home remedy.
Is olive oil safe for kittens?
Olive oil is generally gentle enough for kittens, but their ear canals are more delicate. It’s best to consult a vet or an experienced groomer before attempting home ear care on a young kitten.
Conclusion
Keeping your cat’s ears clean doesn’t have to involve harsh chemicals or a stressful vet trip. With a little olive oil, the right technique, and a calm approach, most pet parents can safely manage routine ear hygiene at home. That said, ears are sensitive, and knowing when a problem is beyond a home remedy is just as important as the cleaning itself.
If you’d rather leave ear care in expert hands, or your cat shows signs of infection, irritation, or mites, The Groom Room offers gentle, professional cat grooming in Abu Dhabi, including thorough ear cleaning as part of a full grooming session. Book an appointment and let our experienced team give your feline friend the safe, stress-free care they deserve.